
Aprilaire 700 Installation: A Comprehensive Guide
Welcome! This guide details the Aprilaire 700 installation process, referencing the official Aprilaire 700 installation manual PDF for detailed diagrams and specifications.
Successfully installing your humidifier requires careful adherence to the manual’s instructions, ensuring optimal performance and longevity of the unit.
This comprehensive resource will walk you through each step, from pre-installation checks to post-installation configuration and ongoing maintenance procedures.
Understanding the Aprilaire 700 Whole-House Humidifier
The Aprilaire 700 represents a significant advancement in whole-house humidification technology, designed to maintain optimal indoor humidity levels for enhanced comfort and health. Referencing the Aprilaire 700 installation manual PDF, you’ll discover it’s a fan-powered flow-through humidifier, meaning it actively distributes moisture throughout your HVAC system.
Unlike traditional bypass humidifiers, the 700 doesn’t rely on furnace airflow, offering consistent humidity even when the furnace isn’t running. This is particularly beneficial during milder weather or shoulder seasons. The manual details how the unit utilizes an evaporative pad to absorb water, which is then dispersed into the air stream.
Understanding its components – the water panel, solenoid valve, and control board – as outlined in the PDF, is crucial for successful installation and maintenance. The 700 is engineered to prevent over-humidification and mineral buildup, contributing to a healthier indoor environment and extending the life of your HVAC equipment. Proper installation, guided by the manual, ensures these benefits are fully realized.
Key Features and Benefits of the Aprilaire 700
The Aprilaire 700 boasts several key features, thoroughly detailed within the Aprilaire 700 installation manual PDF, that distinguish it from competing humidifiers. Its fan-powered design ensures consistent humidity distribution, regardless of furnace operation, a significant advantage highlighted in the documentation.
The manual emphasizes the unit’s capacity to add up to 12 gallons of moisture per day, making it suitable for larger homes. A notable benefit is the automatic digital humidity control, allowing precise adjustment and maintenance of desired humidity levels. The self-adjusting features, explained in the PDF, minimize water waste and prevent over-humidification.
Furthermore, the Aprilaire 700’s design incorporates a unique water panel that resists mineral buildup, reducing maintenance requirements. The manual also points out the benefits of improved air quality, reduced static electricity, and protection for wood floors and furniture. Investing in the 700, and understanding its features via the manual, translates to a healthier and more comfortable home environment.
Safety Precautions Before Installation
Prior to commencing installation, carefully review the Aprilaire 700 installation manual PDF for critical safety precautions. Electrical safety is paramount; always disconnect power to your furnace at the breaker box before beginning any wiring connections, as detailed in the manual.
Water supply connections require caution to prevent leaks and potential water damage. The manual stresses the importance of using appropriate plumbing fittings and ensuring a secure seal. Wear safety glasses during installation to protect your eyes from debris.
Be mindful of the humidifier’s weight during mounting to avoid injury. The Aprilaire 700 installation manual PDF also warns against installing the unit in areas exposed to freezing temperatures, which could damage the water supply lines. Always follow local building codes and regulations. Proper grounding is essential, and the manual provides specific instructions. Ignoring these precautions could lead to personal injury or property damage.
Pre-Installation Checklist
Before you begin, consult the Aprilaire 700 installation manual PDF. Verify HVAC system compatibility, gather necessary tools, and select an appropriate installation location.
Preparation is key!
Tools Required for Installation
Ensuring a smooth installation necessitates having the correct tools readily available. The Aprilaire 700 installation manual PDF provides a detailed list, but here’s a comprehensive overview to help you prepare.
You will need a Phillips head screwdriver, a flathead screwdriver, and potentially a nut driver set for various mounting screws. A drill with appropriate drill bits (for both wood and metal, depending on your ductwork) is essential for securing the humidifier unit.
For plumbing connections, a pipe wrench and adjustable wrench are crucial for tightening fittings on the water supply line and drain line. Teflon tape is vital for sealing threaded connections and preventing leaks. A tubing cutter will ensure clean cuts for the water supply line.
Electrical work requires wire strippers, wire connectors (wire nuts), and a voltage tester to safely disconnect and reconnect power. A level is necessary to ensure the humidifier unit is mounted straight. Finally, a utility knife will be helpful for opening packaging and trimming materials. Always prioritize safety and consult the manual for specific tool recommendations.
Checking Compatibility with Your HVAC System
Prior to installation, verifying compatibility with your existing HVAC system is paramount. The Aprilaire 700 installation manual PDF emphasizes this crucial step to avoid performance issues or damage.
First, confirm your furnace has a compatible bypass duct. The manual details specific dimensions and airflow requirements for the bypass duct to function correctly with the Aprilaire 700. Insufficient bypass airflow can lead to inadequate humidification or furnace overheating.
Next, assess your furnace’s electrical capacity. The Aprilaire 700 requires a dedicated 24V power source. Ensure your furnace control board can supply this voltage without being overloaded.
Check the available space around your furnace for mounting the humidifier. The manual provides precise clearance requirements. Finally, confirm your water supply line is accessible and provides adequate water pressure. Ignoring these compatibility checks can result in costly repairs or a malfunctioning humidifier.
Locating the Ideal Installation Spot
Selecting the right location for your Aprilaire 700 is critical for optimal performance and ease of maintenance. The Aprilaire 700 installation manual PDF provides detailed guidance on this process, emphasizing accessibility and environmental factors.
Ideally, the humidifier should be mounted near your furnace, within the return air duct system. This proximity minimizes the length of water and electrical connections. Ensure the chosen location offers sufficient clearance for filter changes and routine cleaning, as outlined in the manual.
Avoid areas prone to freezing temperatures, as this can damage the water supply line and humidifier components. The manual recommends insulating the water line if it runs through unheated spaces.
Consider the proximity to a drain line for condensate disposal. A gravity drain is preferred, but a condensate pump may be necessary if a suitable drain isn’t available. Proper location selection, guided by the manual, ensures efficient and reliable operation.

Installation Process: Step-by-Step
Follow the Aprilaire 700 installation manual PDF closely for detailed instructions. This section guides you through mounting, connecting water, drain lines, and electrical wiring safely.
Mounting the Humidifier Unit
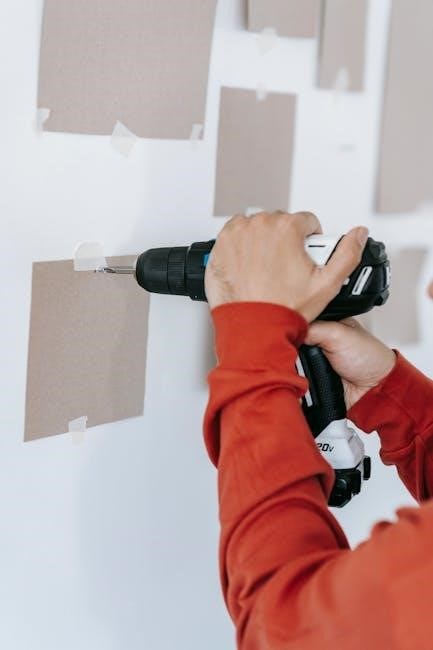
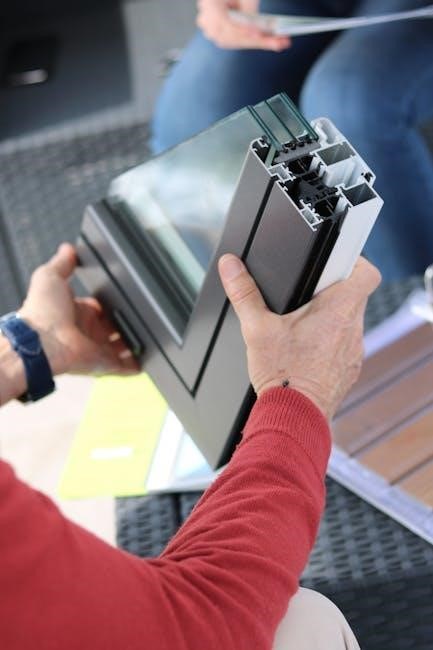
Refer to the Aprilaire 700 installation manual PDF for precise mounting details. Proper mounting is crucial for stable operation and preventing vibrations. Typically, the unit is mounted directly to the supply plenum of your furnace or air handler.
Location is key: Ensure sufficient clearance around the unit for servicing and filter changes, as detailed in the manual. Use the provided mounting bracket and screws, securing it firmly to the plenum. Verify the bracket is level before fully tightening the screws.
Plenum Considerations: The plenum must be structurally sound to support the humidifier’s weight when filled with water. Consult the manual for weight specifications. Avoid mounting near electrical components or gas lines.
Sealing is Essential: After mounting, seal any gaps between the humidifier housing and the plenum with duct sealant to prevent air leaks. This maximizes efficiency and prevents conditioned air from escaping. Double-check all connections against the Aprilaire 700 installation manual PDF diagrams.
Connecting Water Supply Line
Consult the Aprilaire 700 installation manual PDF for detailed water line connection instructions. A cold water supply line is required, typically a ¼-inch copper or PEX tubing. Locate a suitable water source near the humidifier, ensuring adequate water pressure (minimum 20 PSI, maximum 100 PSI).

Shut off the water supply before beginning any plumbing work. Use a saddle valve or a tee fitting to tap into the cold water line. Apply Teflon tape to all threaded connections to prevent leaks. Connect the water supply line to the humidifier’s water inlet using a compression fitting, tightening securely but avoiding over-tightening.
Check for Leaks: Slowly turn the water supply back on and carefully inspect all connections for leaks. If leaks are present, tighten the fittings or reapply Teflon tape. The manual emphasizes the importance of leak-free connections to prevent water damage.
Water Hammer Arrestor: Consider installing a water hammer arrestor on the water supply line to protect the humidifier and plumbing system from pressure surges, as recommended in the Aprilaire 700 installation manual PDF.
Connecting the Drain Line
Refer to the Aprilaire 700 installation manual PDF for precise drain line routing instructions. A properly installed drain line is crucial to prevent water damage and ensure efficient operation. The humidifier requires a drain line to remove excess water generated during operation.
Use ¾-inch PVC or polyethylene tubing for the drain line, ensuring it slopes continuously downward from the humidifier to the drain location. Avoid sharp bends or kinks that could restrict water flow. Connect the drain line to the humidifier’s drain outlet using a secure fitting.
Drain Location: Route the drain line to a suitable drain, such as a floor drain, standpipe, or laundry tub. Ensure the drain is large enough to accommodate the water flow. Do not connect the drain line to a sewer line, as this could create a backflow hazard, as detailed in the manual.
Air Gap: Maintain an air gap between the drain line and the drain to prevent back-siphoning. Secure the drain line to prevent movement and ensure a reliable connection, following the Aprilaire 700 installation manual PDF guidelines.
Connecting the Electrical Wiring
Always disconnect power at the breaker before commencing any electrical work! Consult the Aprilaire 700 installation manual PDF for the specific wiring diagram applicable to your model. Incorrect wiring can damage the unit and create a safety hazard.
The Aprilaire 700 typically requires a 120V AC power supply. Connect the humidifier’s wiring to the appropriate terminals on a dedicated circuit. Use wire connectors approved for the gauge of wire being used, ensuring secure connections. Typically, this involves black (hot), white (neutral), and green (ground) wires.
Grounding is essential for safety. Connect the green ground wire to a properly grounded electrical box or grounding screw. Double-check all connections to ensure they are tight and secure.
Verify proper voltage before restoring power. Once wiring is complete, carefully inspect all connections against the diagram in the Aprilaire 700 installation manual PDF. Restore power at the breaker and proceed to testing.
Post-Installation Configuration
Congratulations! Refer to the Aprilaire 700 installation manual PDF for detailed instructions on setting your desired humidity levels and testing the unit’s functionality.
Proper configuration ensures optimal performance and comfort within your home environment.
Setting the Optimal Humidity Level
Determining the ideal humidity level is crucial for both comfort and health. The Aprilaire 700 installation manual PDF provides guidance, but generally, a range of 30-50% relative humidity is recommended.
Lower humidity levels can alleviate allergy symptoms and prevent mold growth, while higher levels can soothe dry skin and reduce static electricity. However, exceeding 60% can encourage mold and mildew.
Utilize the Aprilaire 700’s control panel to adjust the desired humidity setting. Begin with a moderate setting, such as 40%, and observe how your home responds. Monitor for condensation on windows or walls, which indicates excessive humidity.
The manual details how to use the humidity sensor and override functions. Consider seasonal adjustments; lower settings are often preferable in colder months to prevent condensation on windows. Regularly check the Aprilaire 700 installation manual PDF for specific recommendations tailored to your climate and home’s insulation.
Experiment to find the sweet spot that balances comfort, health, and prevents potential damage to your home.
Testing the Humidifier Functionality
Post-installation, thorough testing is vital to confirm proper operation. Refer to the Aprilaire 700 installation manual PDF for detailed testing procedures and safety guidelines.
Begin by verifying the water supply connection. Ensure there are no leaks at the valve or the humidifier unit itself. Next, activate the humidifier via the control panel and observe the water flow to the evaporator pad.
Monitor the fan operation. Confirm the fan is running smoothly and distributing humidified air effectively. Use a humidity meter to measure the actual humidity level in your home and compare it to the setpoint on the control panel.
The Aprilaire 700 installation manual PDF outlines diagnostic codes that can help identify potential issues. Check for error messages on the control panel and consult the manual for troubleshooting steps.
Run the humidifier for several hours, continuously monitoring its performance. Address any leaks, unusual noises, or inconsistencies immediately to prevent further complications.
Troubleshooting Common Installation Issues
Even with careful installation, issues can arise. The Aprilaire 700 installation manual PDF is your primary resource for resolving these problems efficiently and safely;
A frequent issue is water leakage. Check all connections – the water supply line, drain line, and humidifier unit itself – for tightness and proper sealing. Another common problem is insufficient humidity output; verify the evaporator pad is correctly installed and receiving adequate water.
Electrical issues, such as the unit not powering on, require careful diagnosis. Consult the manual’s wiring diagrams and ensure all connections are secure. The Aprilaire 700 installation manual PDF details troubleshooting steps for error codes displayed on the control panel.
Fan malfunctions can also occur. Check for obstructions and ensure the fan motor is receiving power. If problems persist, refer to the manual for recommended service procedures or contact a qualified HVAC technician.
Remember to always disconnect power before attempting any repairs.
Maintenance and Care
Regular upkeep ensures peak performance. Consult the Aprilaire 700 installation manual PDF for detailed maintenance schedules and procedures.
Consistent care extends the humidifier’s lifespan and maintains optimal air quality within your home.
Filter Replacement Schedule
Maintaining optimal performance hinges on consistent filter replacement. The Aprilaire 700 installation manual PDF provides a detailed filter replacement schedule, crucial for ensuring clean and healthy humidification.
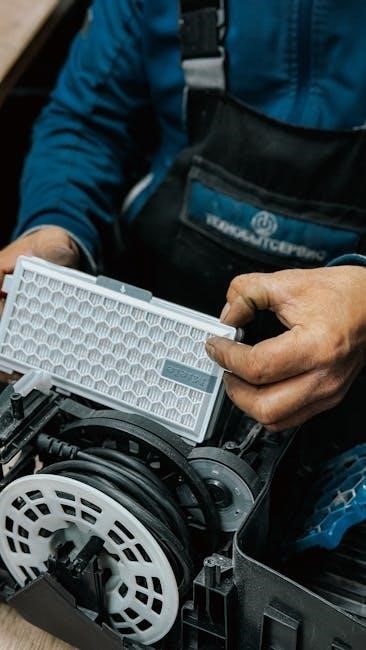
Generally, the Aprilaire 700 utilizes an evaporative pad, often referred to as a filter, which requires replacement every 1-2 seasons, or approximately 6-12 months, depending on water quality and usage. Hard water significantly shortens the lifespan of the pad, necessitating more frequent changes. Visible mineral buildup or reduced humidity output are key indicators that a replacement is needed.
To replace the filter: First, shut off the water supply to the humidifier. Then, remove the old pad, noting its orientation for correct installation of the new one. Rinse the water panel thoroughly to remove any mineral deposits. Install the new pad, ensuring a snug fit. Finally, restore the water supply and verify proper operation.
Pro Tip: Keep a record of filter replacement dates to maintain a consistent schedule. Ignoring this maintenance step can lead to reduced efficiency, increased energy consumption, and potential mold growth.
Cleaning the Humidifier Components
Regular cleaning is vital for maintaining the Aprilaire 700’s efficiency and preventing mineral buildup. The Aprilaire 700 installation manual PDF outlines a comprehensive cleaning procedure, essential for long-term performance.
At least annually, or more frequently with hard water, the humidifier requires thorough cleaning. Begin by shutting off the water supply and power to the unit; Remove the water panel and soak it in a solution of white vinegar and water (1:1 ratio) for several hours to dissolve mineral deposits.
Scrub the water panel with a soft brush to remove any remaining residue. Rinse thoroughly with clean water. Inspect and clean the solenoid valve and water line, removing any debris or mineral buildup. Finally, wipe down the humidifier housing with a damp cloth.
Caution: Never use abrasive cleaners or scouring pads, as they can damage the components. Proper cleaning ensures optimal humidity output and prevents potential health hazards associated with mold or bacteria growth.
Winterization Procedures for the Aprilaire 700
Preparing your Aprilaire 700 for colder months, or extended periods of non-use, is crucial to prevent damage. The Aprilaire 700 installation manual PDF details specific winterization steps for optimal protection.
Before freezing temperatures arrive, turn off the water supply to the humidifier. Disconnect the water line and drain any remaining water from the unit and the supply line to prevent freezing and potential cracking. Remove the water panel and thoroughly dry it before storing it in a clean, dry location.
Consider applying a small amount of RV antifreeze to the water line to further protect against freezing. Turn off the power to the humidifier at the breaker. Inspect the unit for any signs of leaks or damage.
Important: Failure to properly winterize the Aprilaire 700 can result in costly repairs. Following the manual’s guidelines ensures a smooth start-up when warmer weather returns.